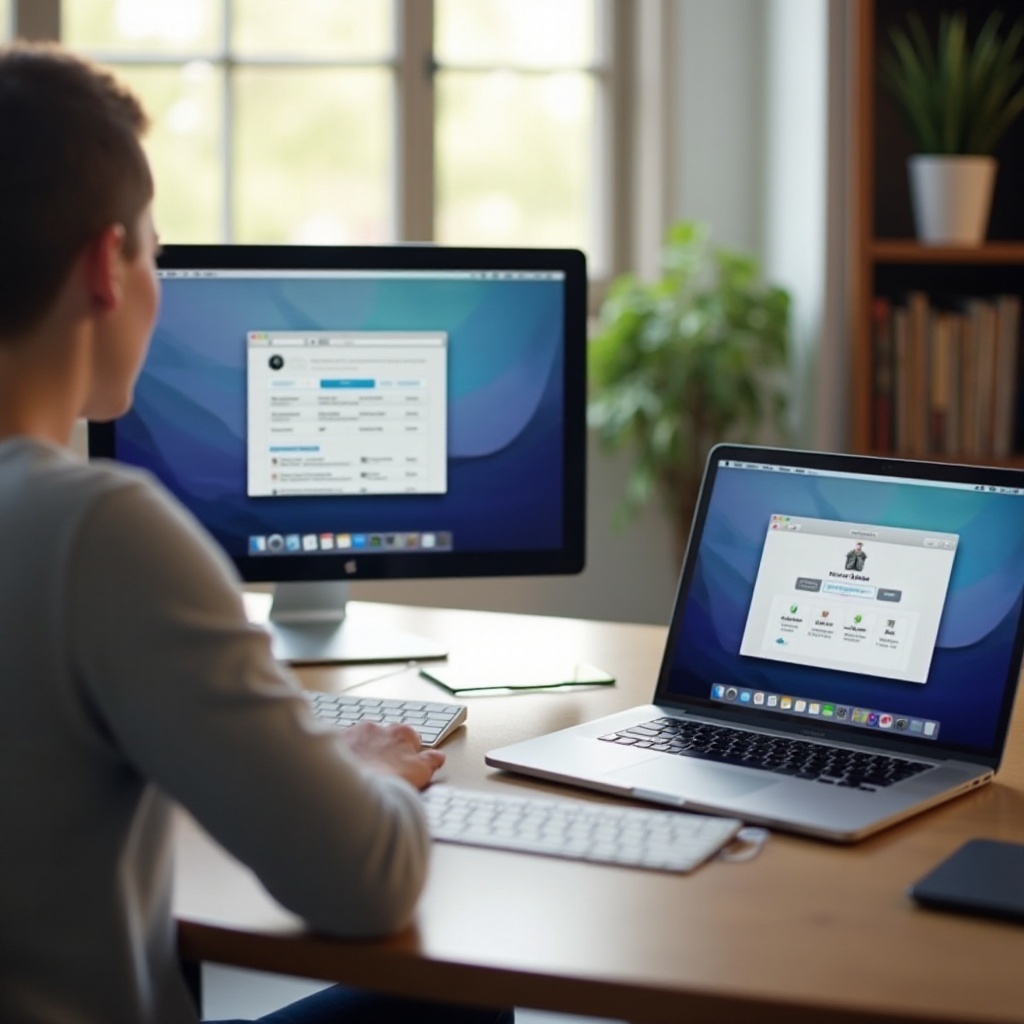
Introduction
Sharing your laptop screen with a Mac can greatly enhance productivity, whether you’re collaborating on a project, holding a presentation, or troubleshooting an issue. Knowing how to share your screen efficiently is indispensable in both professional and personal settings. This comprehensive guide delves into various methods to share your laptop screen with a Mac, covering built-in features and third-party applications. Whether you’re using AirPlay, TeamViewer, or Zoom, we’ll walk you through each process step by step.

Preparing Your Devices
Before you start sharing your screen, make sure both of your devices are ready.
- Check Compatibility: Ensure both the laptop and the Mac are compatible with the screen sharing methods you intend to use.
- Update Software: Keep your operating systems updated. Many screen sharing issues arise from outdated software.
- Check Network Connection: Both devices should be connected to the same Wi-Fi network for seamless screen sharing.
- Adjust Settings: Ensure firewall and security settings permit screen sharing.
Having these aspects covered will prevent interruptions during the screen sharing process.
Using Built-In Mac Features (AirPlay)
Macs come with a built-in feature named AirPlay that allows easy screen sharing.
- Enable AirPlay: Open System Preferences on your Mac, and go to ‘Displays.’ Check the box that says ‘Show mirroring options in the menu bar when available.
- Connect Devices: Ensure your laptop and Mac are connected to the same Wi-Fi network.
- Start AirPlay: On your laptop, click the AirPlay icon in the menu bar. Select your Mac from the list of available devices.
- Adjust Display Settings: Once connected, you can tweak the display settings if needed to optimize the screen sharing experience.
Using AirPlay is one of the simplest ways to share your screen if both devices are under the Apple ecosystem.

Using Third-Party Applications
If you are looking for more versatile options or if AirPlay doesn’t suit your needs, several third-party applications can facilitate screen sharing between different platforms. Two popular options are TeamViewer and AnyDesk.
Using TeamViewer
TeamViewer is a popular, reliable solution for remote access and screen sharing.
- Install TeamViewer: Download and install TeamViewer on both your laptop and Mac.
- Account Setup: Sign up for a TeamViewer account, and log in on both devices.
- Start Sharing: On your laptop, enter the Partner ID of the Mac you wish to share the screen with. Click ‘Connect,’ and you’ll be prompted to enter a password displayed on the Mac.
- Control Remote Device: Once connected, you can control the Mac from your laptop as if you were using it directly.
Using AnyDesk
AnyDesk offers another viable screen sharing solution with low latency and high security.
- Download AnyDesk: Install AnyDesk on both devices.
- Generate Address: Open AnyDesk on the Mac to find the AnyDesk address.
- Connect Devices: Enter the Mac’s AnyDesk address into the AnyDesk app on your laptop. Click ‘Connect.
- Accept Request: The Mac user needs to accept the connection request to start screen sharing.
Other Popular Third-Party Apps
Other notable applications for screen sharing include Chrome Remote Desktop, Splashtop, and Microsoft Remote Desktop. Each offers unique features, so choose one that fits your specific needs.
Screen Sharing for Meetings and Presentations
In professional settings, screen sharing is essential for meetings and presentations. Applications like Zoom and Skype come with built-in screen sharing features suitable for different contexts.
Using Zoom’s Screen Sharing Feature
Zoom is widely used for online meetings and offers a robust screen sharing feature.
- Start a Meeting: Schedule or start a Zoom meeting.
- Share Screen: Click the ‘Share Screen’ button in the meeting controls.
- Select Screen: Choose the screen you wish to share and click ‘Share.
Zoom allows participants to annotate, making it an interactive experience.
Using Skype’s Screen Sharing Feature
Skype provides another reliable option for screen sharing during calls.
- Start a Call: Begin a voice or video call.
- Share Screen: Click the ‘+’ button and select ‘Share Screen.
- Choose Screen: Select the screen or application window you want to share and click ‘Start Sharing.
Screen sharing in Skype is seamless and integrates well with its video calling features.
Conclusion
Sharing your laptop screen with a Mac can be easily achieved using various methods, either through built-in features like AirPlay or third-party applications like TeamViewer and Zoom. Each method has its advantages depending on your specific needs and the devices used. Following this comprehensive guide ensures a smooth, efficient screen-sharing experience.
Frequently Asked Questions
What should I do if AirPlay is not working?
If AirPlay isn’t working, ensure both devices are on the same Wi-Fi network and have the latest software updates. Restart both devices and check the network settings.
Can I share my screen wirelessly from a Windows laptop to a Mac?
Yes, you can use third-party applications like TeamViewer, AnyDesk, or Chrome Remote Desktop to share your screen wirelessly from a Windows laptop to a Mac.
Are there any free tools for sharing my screen from a laptop to a Mac?
Yes, free tools such as TeamViewer, AnyDesk, and Chrome Remote Desktop offer reliable screen sharing between a laptop and a Mac without any cost.