Testing RCA cables is vital for ensuring your home entertainment system works flawlessly. Faulty cables can lead to subpar picture quality and compromised sound. This comprehensive guide will lead you through everything you need to know about testing RCA cables, ensuring that you get optimal performance from your television setup.
Introduction
RCA cables are indispensable in connecting audio and video components within most home entertainment systems. They’ve been integral since the phonograph era, evolving to connect devices like DVD players, game consoles, and TVs. Problems with these cables often lead to poor system performance, so regular testing is crucial. Understanding the testing process helps maintain seamless audio-visual interactions in your setup, which is exactly what this guide will help you achieve.
Understanding RCA Cables
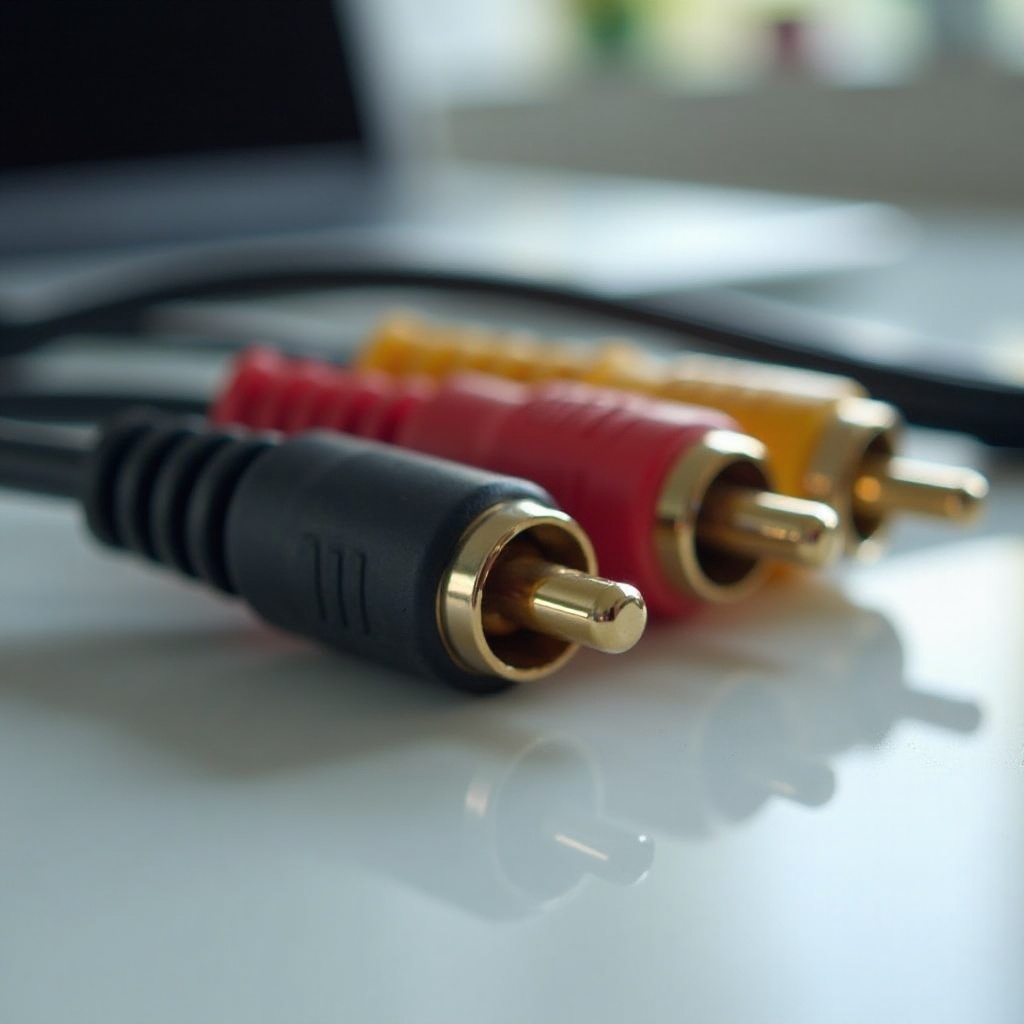
RCA cables, known since their invention in the 1940s, are comprised of three color-coded connectors: red, white, and yellow. Red and white connectors handle stereo audio signals, while the yellow connector transmits video. Recognizing this color coding is fundamental in ensuring proper connections and testing.
Understanding RCA cables’ workings helps set the foundation for effective testing. Each connector plays a unique role; any interference can severely affect signal quality. Armed with this knowledge, you can easily identify issues and perform corrective measures when needed.
Why Testing RCA Cables Is Important
Ensuring top-notch audio and video quality requires regular cable testing. Here’s why it’s important:
- Ensure Quality: Signals free of distortion assure the best viewing and listening experiences.
- Prevent Signal Loss: Gradual wear may lead to signal disruptions, but regular testing catches issues early.
- Cost Efficiency: Regular maintenance through testing minimizes unnecessary repairs, maximizing your system’s lifespan.
Knowing the importance of testing steers us towards understanding the tools needed next, paving the way for effective testing.
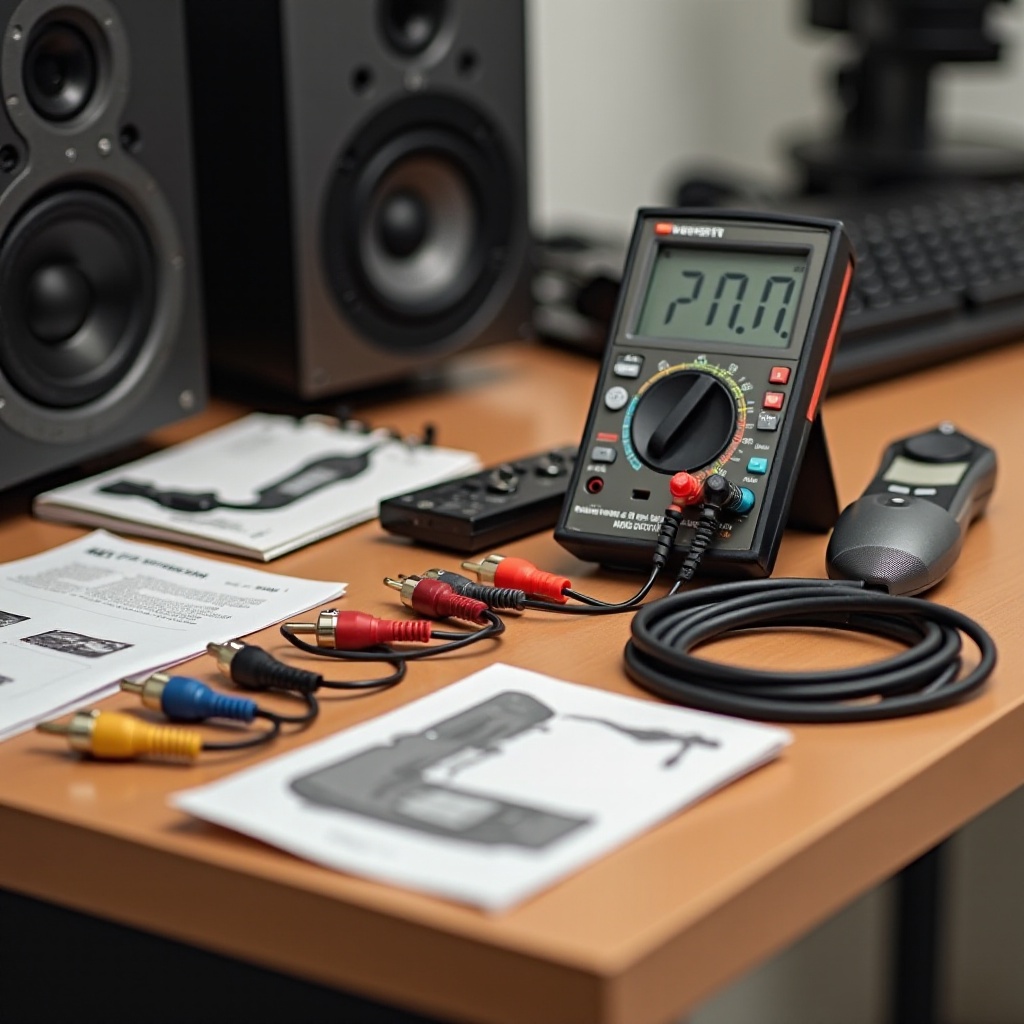
Tools You Need to Test RCA Cables
Testing RCA cables can be done with minimal equipment, including:
- Multimeter: This measures key electrical properties, crucial for continuity tests.
- Signal Tester: Validates signal transmission across the cable effectively.
- Additional Tools: Include a flashlight for visual checks and spare connectors for repairs.
Equipped with these tools, you’re ready to perform a comprehensive analysis of your RCA cables. Let’s move forward with the step-by-step guide for testing.
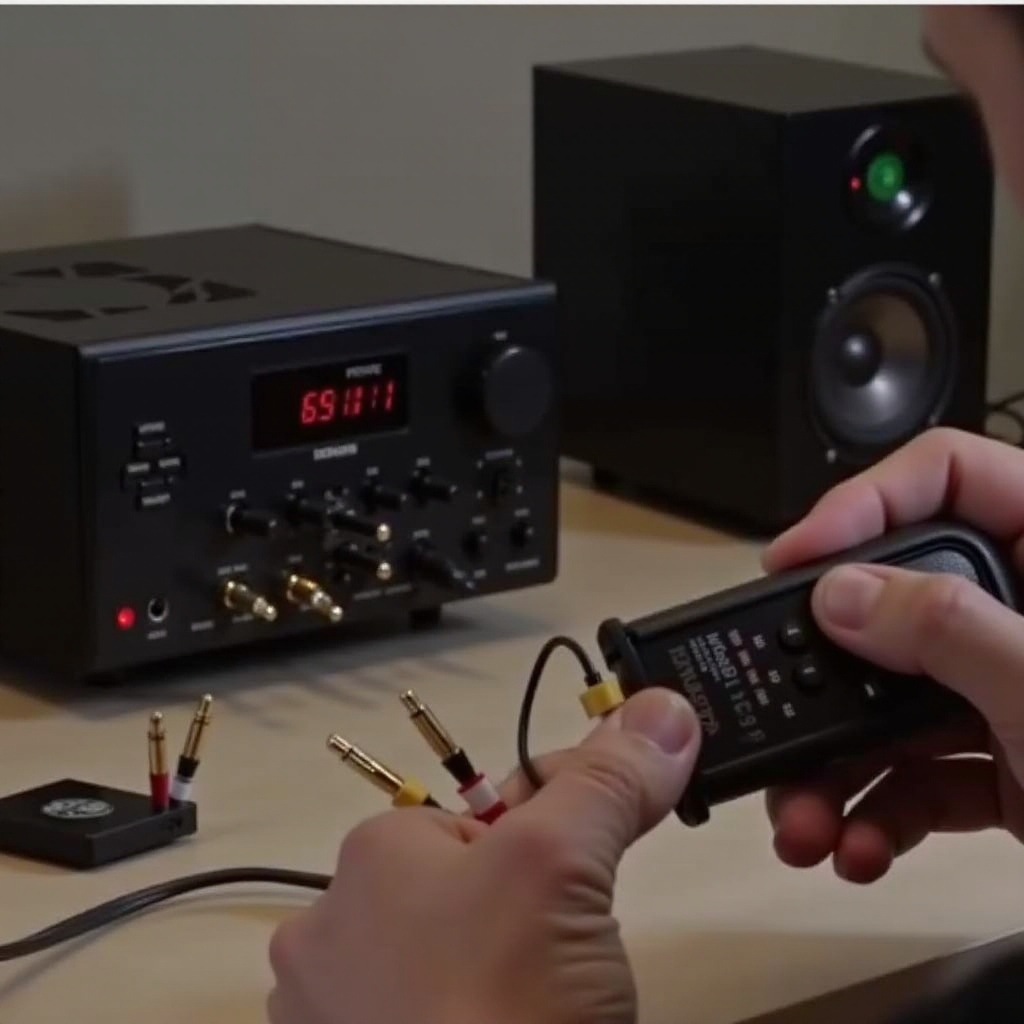
Step-by-Step Guide to Testing RCA Cables
Follow these steps to test your RCA cables efficiently:
-
Visual Inspection and Preparation: Check for visible damage such as cuts, frays, or bent connectors. Examine the connectors and cable jacket for any signs of wear.
-
Testing for Continuity with a Multimeter:
- Switch your multimeter to continuity mode.
- Attach probes to each end of the cable, ensuring the same connector is tested on both ends.
-
A continuous beep or stable reading signifies intact continuity.
-
Using a Signal Tester for Accuracy:
- Connect cables to the signal tester as per the instructions.
- Verify the signal passage through display indicators or lights.
These procedures confirm whether your RCA cables function properly or if they require attention.
Interpreting Your Results
Upon testing, comprehending the outcomes is essential:
- Continuity Readings: A consistent reading shows intact cable connections.
- Troubleshooting Issues: Unstable readings may signify internal breakages or damaged connectors, easily fixed with basic connector replacements or repairs.
Interpreting these signals correctly sets the stage for suitable troubleshooting, guiding you to address any problem areas.
Troubleshooting and Fixing RCA Cable Problems
If tests highlight issues, tackle them as follows:
- Simple Repairs: For minor damages, replace connectors or use electrical tape for small cuts.
- Cable Replacement: Severe internal breakages may warrant new RCA cables for cost-effectiveness.
Prompt troubleshooting and repairs ensure your devices’ optimal performance remains uninterrupted.
Tips for Maintaining RCA Cables
To prolong the life of RCA cables, consider these practices:
- Storage Best Practices: Coil cables loosely without stress-inducing tight loops.
- Handling Tips: Unplug by holding the connector, not the cable, preventing internal wire stress.
Implementing these practices curtails future issues and safeguards your cable investment.
Conclusion
Regular testing of RCA cables is integral to maintaining an efficient home entertainment system. Armed with the basic knowledge, tools, and steps outlined, you can ensure your cables consistently deliver excellent performance. Proactive maintenance through regular testing not only enhances audio and video quality but also serves as a preventative measure against potential disruptions.
Frequently Asked Questions
How often should I test my RCA cables?
Regular testing every few months is recommended, particularly if devices are frequently connected and disconnected.
Can faulty RCA cables damage my TV?
Though RCA cables won’t directly harm your TV, poor cables can lead to signal loss affecting audio and video quality.
What are the signs that my RCA cables are failing?
Symptoms include intermittent sound or picture, visible damage, and unstable signals indicating cable failure.